Sunday lunches in our house growing up almost always meant some sort of meat curry – mutton, fish, shrimp, or, most often, chicken. Mummy’s chicken curry is a favorite of everyone in our household, and I think after many attempts over the years and watching my mother carefully, I’ve finally managed to get pretty close. (There’s a very slight difference in taste, which I think I know the reason for, and I’ll explain it below.)
I think a major reason that my mother’s food tastes so good is that she makes the majority of her spice blends fresh from scratch. I’m sure that this is common amongst traditional Indian cooks, especially in India, but I’ve noticed that most of my generation relies on the ready-made boxed spices from Shaan and MDH found in Indian grocery stores. These can certainly make for great meals – I have another chicken curry recipe and a delicious biryani recipe that relies primarily on these spice blends – but they never achieve the complexity of flavor that a dish has when you start with raw spices.
Mummy cooks her chicken with 3 layers of flavoring – an onion for the base of the dish, a blend of spices and herbs for the marinade, and a dry roast of spices to add to the curry. There are a bunch of pieces and it takes a few attempts to learn how to do this efficiently so you don’t spend hours in the kitchen, but the outcome is completely worth it. Here is the recipe:
Ingredients
- Chicken thighs and/or drumsticks [1.5 lbs]1st Masala Blend (marinade)
- Garlic [1/2 a head]
- Cilantro [handful, washed, with stalks]
- Ginger, peeled [1 inch]
- Water [1/2 cup]
- Sea Salt [1/2 tbsp]2nd Masala Blend (homemade garam masala)
- Poppy seeds [1/2 tsp]
- Cloves [3-4]
- Cinnamon stick [1]
- Whole black peppercorns [6-7]
- Corriander seeds [1/2 tbsb]3rd Masala Blend (curry flavoring)
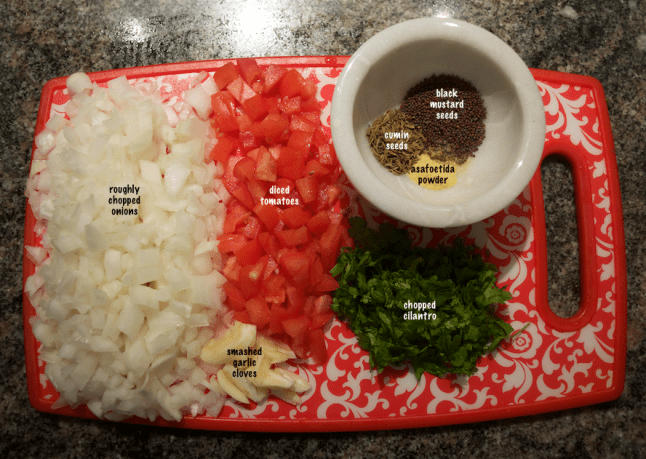
- Large yellow onion, sliced into long wedges [1]
- Frozen grated coconut* [3/4 cup]
- Kashmiri chilis (for color) [2]
- Pre-made spice blend for chicken** [1 tsp]Final Ingredients
- Vegetable oil [1-2 tbsp]
- Large yellow onion, diced [1]
- Water [2 cups]
- Red chili powder (laal mirch)*** [to taste]
- Salt [to taste]
- Pepper [to taste]
- Cilantro leaves [for garnish]
- Garam masala*** [for garnish]
*I buy mine pre-grated and frozen from the Indian store, but Mummy often grates and freezes her own. This may account for some of the difference in flavor. Also, it’s best if you leave the coconut out for 15-20 minutes before using it. It doesn’t have to be at room temperature, but it’s easier if it’s not a totally solid block.
**Mummy uses one from Bedekar’s, but I couldn’t find that so I used MDH Curry Masala for Chicken. It works, but I don’t love it, and I think this may account for the slight difference between my dish and Mummy’s.
***This is an addition that I sometimes make for an added kick of spice and flavor. For the garam masala, I either reserve some of what I made before or use a boxed one from Everest (just for the garnish).
Steps
Marinating the Chicken

Ingredients for the marinade
- Wash the chicken. If using chicken thighs, dice them into 1-inch pieces. Place in a bowl.
- Wash the cilantro and add it (stalks included) to the blender. I use one from Bella that’s actually intended for making juices.
- Peel the ginger and chop into a few pieces if necessary for your blender, and add to the cilantro.
- Separate the garlic pods. I like to peel them completely, but Mummy actually leaves some of the skins on. Add to the blender.

This is actually for making healthy juices but it works perfectly well for this recipe!
- Add the salt and water to the blender and pulse until thoroughly blended.

A vibrant green color, thanks to the cilantro.
- Pour the marinade over the chicken and coat completely. Cover the bowl and set in the fridge while you prepare the other ingredients. (If you have the time, letting chicken marinate for a few hours always increases the flavor.)

I trimmed almost all the fat from the chicken thighs, keeping a little on for flavor.
Making the Homemade Garam Masala
- Add all the ingredients to a spice blender (this is the one I use) and pulse until you have a fine powder. Set aside.

Making the 3rd Masala Blend – A Dry Roast into a Paste
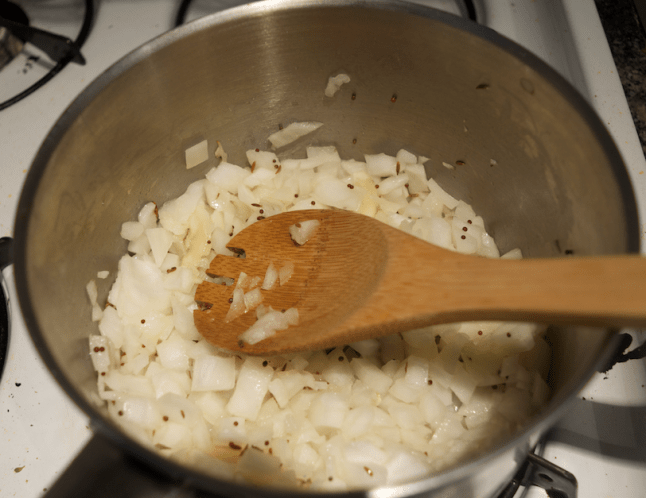
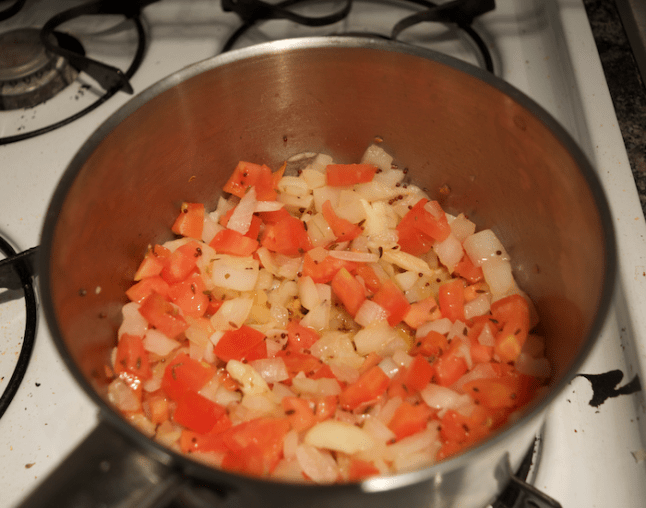
- Roast the onion in a dry (no oil) nonstick pan.
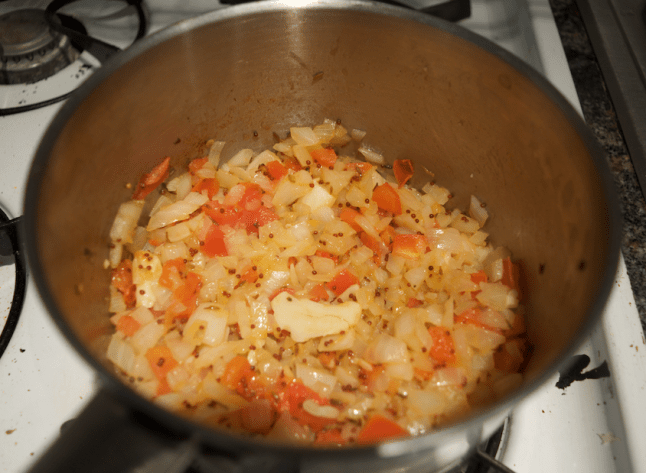
- Once the onion is fragrant, add the grated coconut, Kashmir chilis, and homemade garam masala from above. Roast until the onions are translucent and slightly brown on the edges and the mixture is fragrant.

- Add everything from the pan to your blender, and add in the MDH Curry Masala for Chicken. If you have a powerful enough mixer, pulse until you get a paste. If not, add some water and pulse.

Putting it All Together
- Heat the oil in a pot.
- Once the oil is hot, add the diced onion.

- When the onion is translucent, add the chicken and marinade. Let it cook, stirring from time to time, until the chicken is almost fully cooked through. (Mummy actually marinates the chicken in advance and lets the chicken cook while she’s making the 3rd masala blend, but I’m not quite up to this level of kitchen coordination yet!)

Add the chicken and marinade to the pot

Cook, stirring occasionally, until the chicken is almost fully cooked through
- Add the 3rd masala paste to the pot. Stir and add approximately 2 cups of water. (The amount of water may vary depending on how much you added to make the paste, etc.)


Add two cups of water
- Put the lid on the pot and let the curry come to a boil until the chicken is fully cooked. Then, turn the heat down and let it simmer for 15 minutes until some of the water has evaporated and you are left with a curry of medium-thickness.
- Add salt, pepper, and red chili powder to taste.
- Garnish with cilantro leaves and garam masala. Serve with white rice, chapaati (a common Indian flatbread), or even white Italian bread, and some dahi (plain yogurt).

Do you have a favorite chicken curry recipe or a garam masala recipe/brand that you really like? Share them in the comments below! Happy cooking 🙂